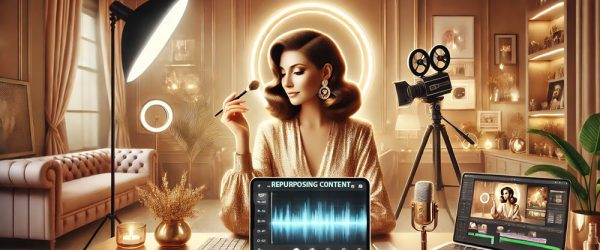
Lighting is a very important aspect of your webcam modeling business. If the lighting is too bright, you will end up either looking “washed out” or like a ghost — all people will see is your eyes and possibly your hair! The other end of the spectrum is having too little light, which results in no one seeing you.
These are two situations you want to avoid because if people can’t see you, they won’t be paying you.
Proper lighting will help you look your best on camera. You can accentuate your best attributes and camouflage the ones you don’t want to share with the world.
The most popular way to set up lighting for camming (which is also used in photography, videos and film) is the Standard 3 Point Lighting Technique. As the name implies, it uses three types of lighting — key light, fill light and back light — to achieve the best results.
Key Light
This is your brightest and main light.
Place this light so it is to one side of where you intend to spend your time while camming. Choose a bulb that says “daylight” for your key light. The placement of this light should allow this side to be well lit, and the opposite side should have some shadowed area.
An easy and low-cost way to achieve this is with a clamp light, which can be found online or at discount and hardware stores at a very modest cost.
Fill Light
This light is placed opposite of the key light and should be a softer light.
This light fills in the shadows created by the key light. A lower wattage flood light could be a good option for the fill light because you want the light to “spread out” rather than be focused.
Back Light
Place this light behind you. Back lighting helps create depth and keeps you from fading into the background. In addition, this light will provide gentle highlights around your silhouette, if placed properly.
Refine Your 3-Light Setup
It not necessary to go out and spend a ton of money on a lighting system. Three clamp lights will work perfectly. Plus, the clamp provides the added bonus of flexibility. They can be placed just about anywhere.
Another trick is playing with the lighting to find what works best for you and helps you look your best. If the main light is too bright, a sheet of white paper can be placed in front of the bulb to soften it. Pro tip: Don’t let the paper lay on the bulb or it could turn into a fire.
An old Hollywood trick to give a soft glow to the actors of yesteryear was to lightly run the camera lens with Vaseline. Nowadays this method is considered archaic and obsolete, but there’s no reason not to try it in the privacy of your own home. After all, why not try any low-cost method to make your videos look better?! Placing gauze over the lens is another way to soften features that you would like camouflage a bit.
It is amazing how much you can manipulate your looks with the proper use of light. Have fun and try different ways of placing the light, bulb strengths and colors to get the best effects for what your trying to achieve.
—
Gabriella Vita is from Las Vegas, NV and has been writing for over ten years under multiple pen names. She believes variety is the spice of life, which is why she enjoys writing on a plethora of subjects. Email her at gabby@ynotcam.com.
Background header image via Unsplash here.


