Welcome back to the Cam Tech-niques series!
In the first two parts, we followed step-by-step tutorials to learn watermarking with OBS Studio and visual profile making with Canva. Now, in the third and final installment of the series, we’ll learn tech tips in seven addressing seven areas that will put the best finishing touches on every one of your broadcasts.
Tips For Your Internet Connection
Before you start camming for the day, you should test your internet speed with Speedtest by Ookla. This quick measurement gives you data on your upload and download speed so you can assess your internet connection at any time.
As streamers, a fast upload speed is more important than download speed, and an upload rate between 3 and 6 mbps is ideal. If your internet speed isn’t sufficient and you want something better, you can use this information as a guide for which internet plan to buy.
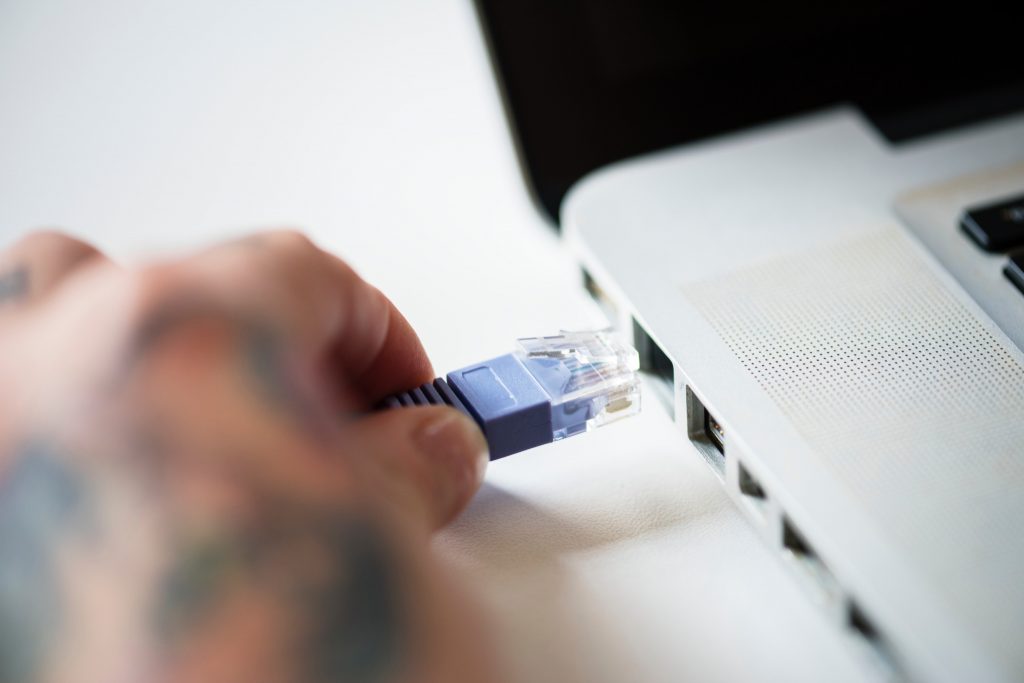
Improve an inconsistent Wi-Fi connection by using a Cat6 or Cat6a Ethernet cable to connect your computer to your router. The advantages of using an Ethernet cable over Wi-Fi to get internet from your router is that your data is less susceptible to interference because it’s being sent through a cable instead of through the atmosphere. Distance from the router, inclement weather and the presence of other devices nearby can all affect your Wi-Fi strength, so think of an Ethernet cable as a good investment for cam.
If your desktop or laptop has an RJ-45 (Ethernet) port, it will be compatible with an Ethernet cable, which connects to the RJ-45 port on the back of your router. You can find Ethernet cables online or from the electronics section of most retail stores for under $20.

Tips For Your Computer
Maximize your computer’s performance while camming by staying off other programs. Playing music, going on other websites or editing content during down time while you’re camming can all slow down your computer. Schedule computer scans and updates for non-camming hours and use a task manager to close any unnecessary programs running in the background.
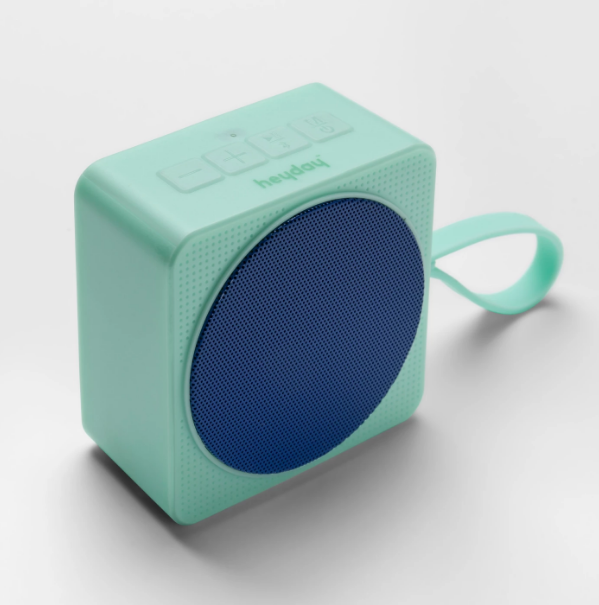
If you like to play music during your show, use a Bluetooth speaker connected to your phone to bring sound to your space. If you’re in the market for a speaker, check out Target’s “Heyday” brand of electronics. I own this Heyday bluetooth speaker and love that it’s conveniently small yet mighty enough for cam.
(Note: This particular speaker is not waterproof.)

Tips For Your Webcam
Turn off the auto focus setting on your external webcam to stabilize your stream using advanced webcam settings. To do this, find the settings panel for your webcam and change the focus from auto to manual to stop the camera from adjusting throughout your stream.
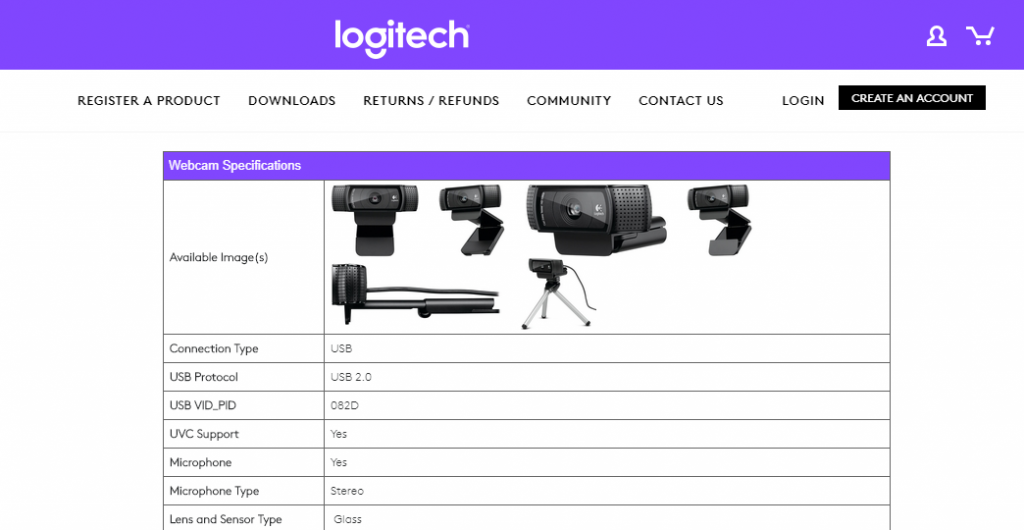
The distracting whine and click of the camera focusing throughout your stream can be disabled if you have the right tools. Refer to your webcam manufacturer to see if there is a downloadable software component to support the webcam, similar to the programs Logitech offers.
Connect your webcam to your computer via a quality USB extension cord if your cam space feels cramped. USB extension cords can give you that hard to achieve head-to-toe view while allowing you freedom and creativity in where you place your cam.
To do this, you’ll need a matching “A-Male-to-A-Female” type extension cable for the appropriate USB Protocol rated for your webcam. To determine what USB Protocol your webcam uses, check your webcam manual or visit the manufacturer’s website. If your webcam supports USB 2.0, get a cable that’s rated for USB 2.0, and so on. Opt for a higher end cable like this 12 foot Insignia USB 2.0 extension cord if you can because it’s designed to transmit your data at fast speeds.
Distance will degrade some of the data transmission from your cam to your PC, so cheaper cables could reduce your stream quality noticeably.

Tips For Your Cam Space
Have something white in your cam space so your camera can properly white balance for a better overall picture.
White balancing is the process of adjusting a photo or camera to display colors as accurately as possible. Colors get distorted on camera and appear more yellow or more blue when the camera cannot find a white reference point to use as a guide to auto adjust itself. Most webcams use an auto white balance to maintain accurate colors, but if your space is mostly one color or has light sources of different temperatures you may experience inaccurate colors on cam.
Simply having something white on camera is enough to give your camera the visual cue it needs.
Tips For Lighting
Inconsistent lighting can affect the quality of your stream in surprising ways.
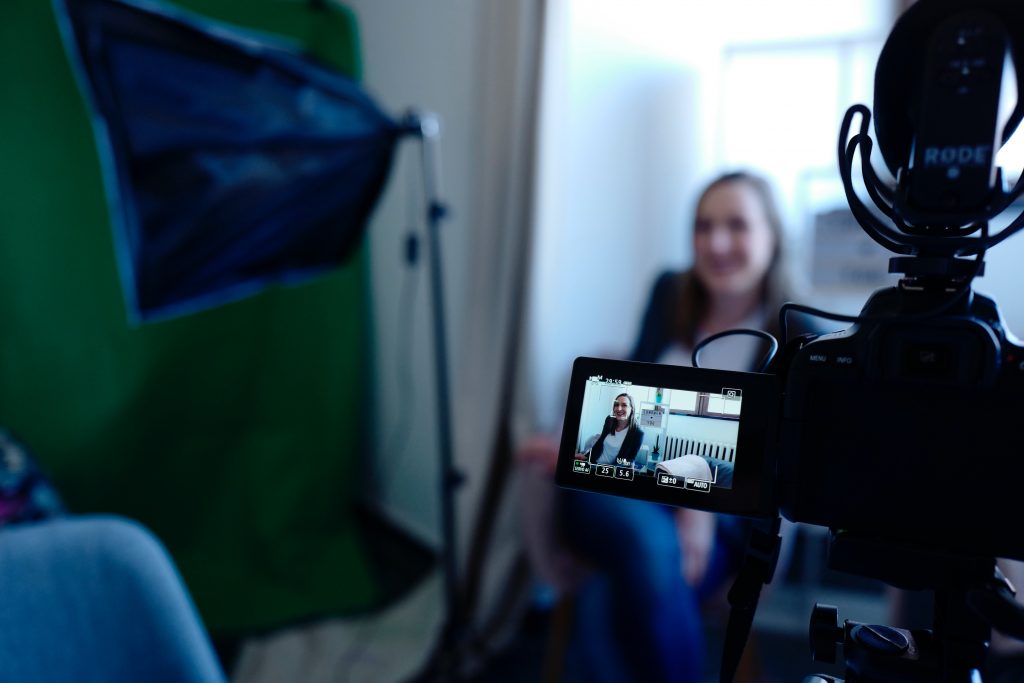
Webcams work by taking many pictures, or frames, per second to form a smooth webcam video stream. When frames are dropped, the webcam can’t form a series of complete images, so the stream becomes choppy and movements look robotic. 30 frames per second is ideal, and ample lighting can help prevent your camera from dropping frames.
Models who use natural light for camming should have artificial lighting set up close by in case light is needed in a pinch. Passing clouds can darken your room enough to disrupt how your webcam captures frames, and since some cam sites uses lighting as part of their algorithm when determining model placement, this could be a huge factor to consider.

In sum, I hope you were inspired by this series to recognize that you have what it takes to make great content. You can do it!
With practice, I believe anyone can become a “tech person” and make unique, outstanding content from the heart. Camming is a perpetual growth experience that’s always presenting opportunities to learn more, and I think that’s what keeps it fresh.
If you have a tech tip you’ve learned along your camming journey and you want to share, let us know on Twitter!
—
Anouk Gilmour is a registered yoga teacher at the 200-hour level. Eight years after trying camming in college, she is an amateur adult model again. Find her on Twitter at @anoukgilmour.
Header image, cable image and lighting image all via Pexels. Logitech screengrab via Anouk Gilmour.


